All about the science of gluten formation and kneading in dough – in relation to pizza! How gluten bonds are formed, how kneading facilitates rising, and how to create a regular or loose crumb. Plus some suggestions for fresh produce pizza toppings, including my favourite: fresh zucchini and corn pizza.
This post has been a long time coming. There is so much to unpack in the chemistry (and biology) of bread that I’ve been struggling on making it approachable to most. So this post is going to be all science, if that’s not your thing I suggest using that Jump to Recipe button up at the top. If you do like the chemistry of cooking, read on! And ask me questions in the comments – I’m all excited and want to teach you all about it!
But First: Making Homemade Pizza
The great things about homemade pizza dough is that you feel a lot better about eating pizza!
- You can include plenty of vegetables (balanced meals are important – particularly if there’s someone in your household who would eat pizza everyday given the chance).
- You can make several small pizzas with different toppings to appease the entire household (or your indecisiveness).
- It takes enough effort that you don’t feel bad about all the fat and starch (if you care about such things).
But it’s not actually all that difficult when you start understanding it. And you can freeze extra pizza dough for later! Actually you can make up the whole pizza and freeze it for later too – just under bake them slightly. Spend a day making pizzas and have them ready to heat for quick meals later on. Much better tasting than store bought and you get to continue enjoying fresh produce pizzas in the winter!
Pizza Topping Suggestions
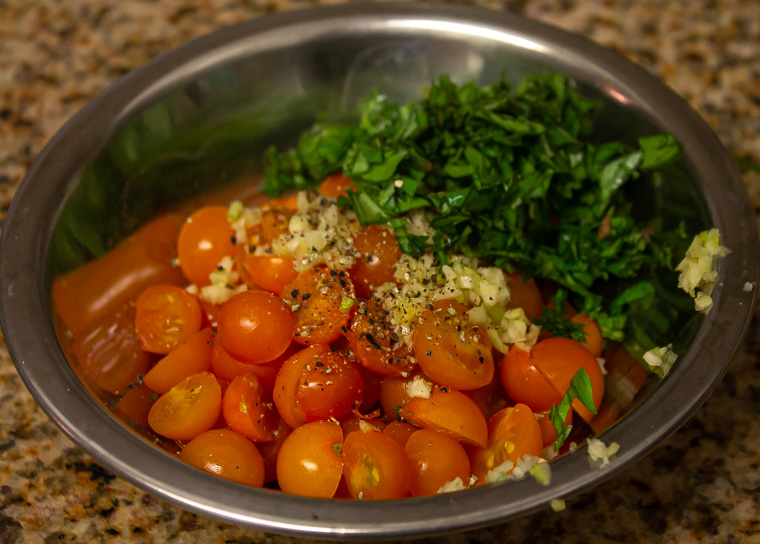
- My go to tomato sauce base: chopped tomatoes, fresh basil, garlic, olive oil
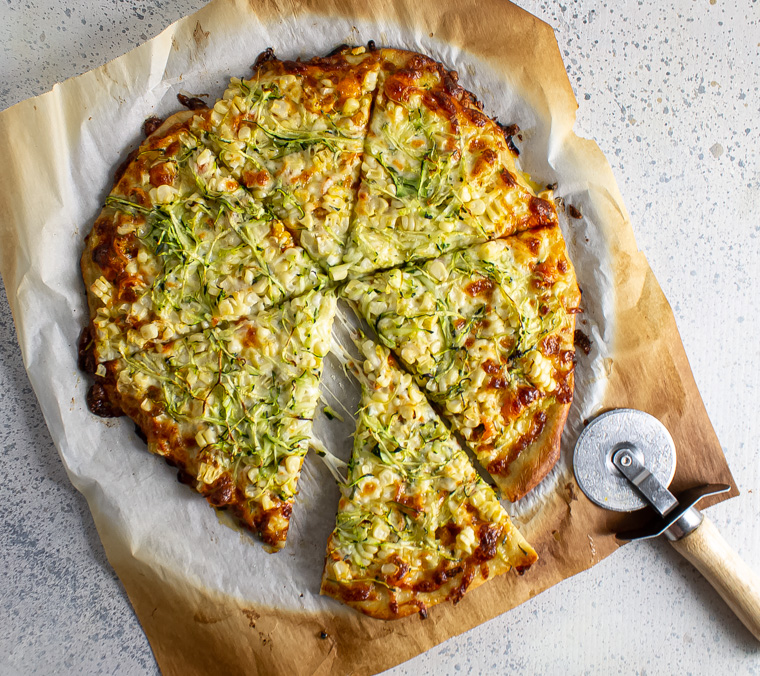
- My favourite: shredded zucchini and fresh corn with mozzarella
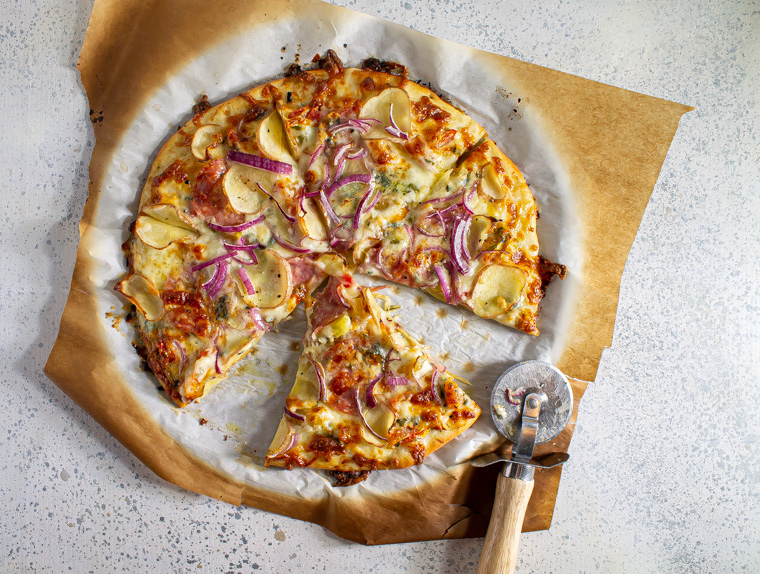
- Thinly sliced potato, red onion, and salami with gorgonzola and mozzarella
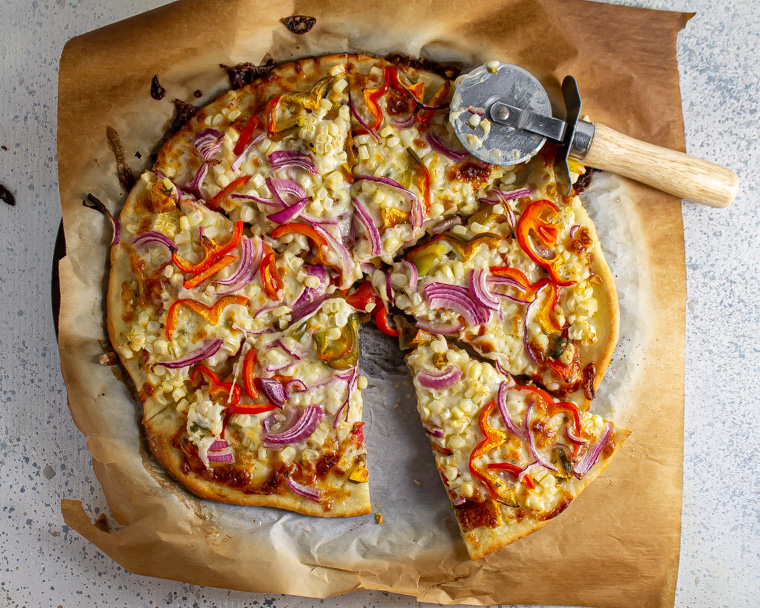
- Red pepper, red onion, and fresh corn with mozzarella
- Not pictured but a recent excellent one: fig jam, balsamic caramelized onions, roasted butternut with fontina and gorgonzola
A (really big) Dash of Science
Alrighty. We finally get to the science of kneading as a function of gluten formation and rise in yeasted breads. It’s been a long time coming. We’ve already tackled yeast and flavour development, developing gluten bonds, and even inhibiting gluten bonds. And alternative raising agents like steam (which does have a role in yeasted breads) and baking powder versus baking soda. So glad I didn’t try to include that all in one post like I was planning when I was new and delusional about blog writing.
How Kneading Creates Gluten Bonds
So we know from making plum and goat cheese tarts that it requires water, gluten containing flour, and mechanical action to create gluten bonds between the proteins in the flour. The more mechanical action the dough is subjected to, the more gluten bonds are formed. One of the reasons for this is that as you work the dough, you are exposing more of the flour to the water to activate gluten bonds. You are also moving the gluten proteins around in relation to each other so that they bond with many other protein molecules. This massive lattice of gluten bonds is what gives bread structure and a chewy consistency. 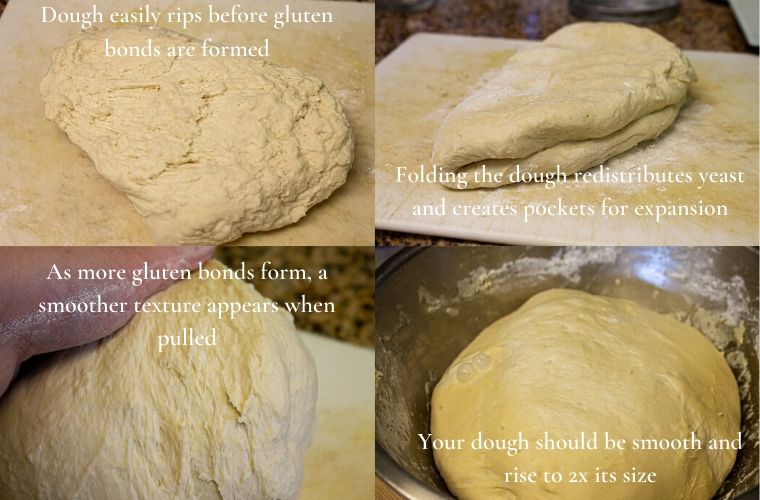
Why Does the Quantity of Gluten Bonds Matter?
When you have more gluten bonds, the stronger your dough will be. It will be able to tolerate being rolled or stretched extremely thin without tearing. This is what allows phyllo to be so thin and pasta to hold so many different shapes. The quick check for this level of gluten bonds is called the “window-pane” test. You stretch out a small piece of dough between your fingers and if you can get it thin enough to read a newspaper (or your cookbook) behind it, then it is ready.
Fewer gluten bonds will give you a more brittle/tender (depending on context) consistency. There are times when you don’t want the chewy texture imparted by lots of gluten structure. Crackers for instance. You want something that will be brittle and snap when it is rolled thin. To this end you either need to inhibit the gluten bonds or limit the amount you work the dough.
Why You Should Knead to Facilitate Rising
The other goal of kneading is to create pockets for the CO2 from the yeast to expand into. And it helps redistribute the yeast. The more you knead, the more (smaller) pockets there will be. This is part of what creates a “regular crumb” – aka a bunch of air pockets that are small and about the same size in the final product.
To get a more irregular structure (big air pockets like in ciabatta) you need a high gluten content so that the bubbles can stretch a lot and retain their shape, but not a lot of kneading. This is a time when you absolutely need a high gluten content flour (bread flour). But for a lot of recipes, you can get away with all purpose flour (just know that bread flour will make it even better).
So go make some pizza and experiment with making bread! Even if the result isn’t as perfect as a Parisian bakery or Italian pizzeria, it will still be tasty. 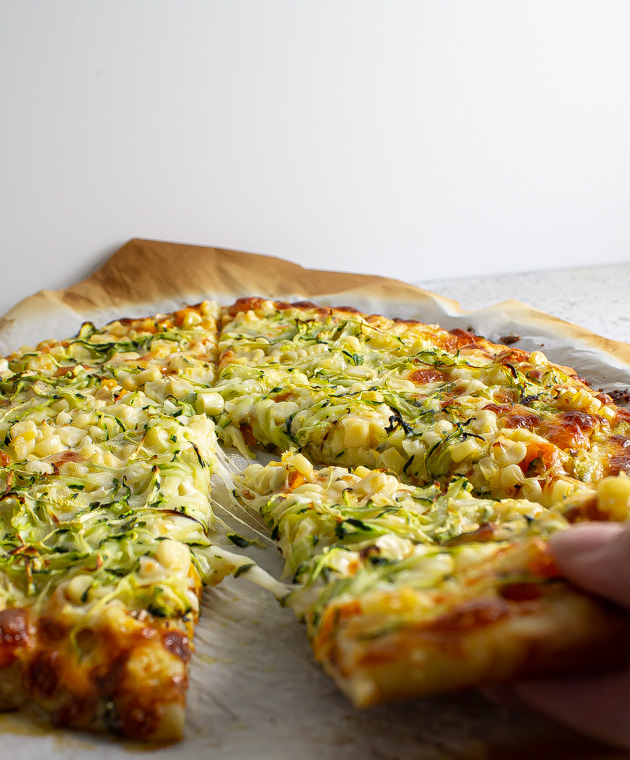
Here are some other bloggers who have talked about gluten and the chemistry of cooking!
Linda’s Best Recipes – White Velvet Cake
A Uniquely Edible Magic – Lemon Olive Oil Cake and Banana Cake
Cardamom and Coconut – Homemade New York Style Pizza
And Jessica Gavin talks more in depth about gluten here and of course there’s Food Crumbles for those even more intrigued by the nerdery.
Best Thin and Chewy Pizza Dough
Ingredients
- 415 g bread flour all purpose works ok too
- 9 g salt
- 10 g active dry yeast
- 270 ml luke warm water.
For the zucchini and corn pizza:
- 2 c/300g shredded mozzarella
- ¾ c/125g corn kernels
- ½ c/75g shredded zucchini
- ½ c/100g diced tomatoes
- ¼ c/10g sliced basil
- 1 tbs/15g minced garlic
- 1 tbs/15ml olive oil
- Salt
- Ground pepper
Instructions
- Combine flour, salt, and yeast – stir together thoroughly. Add water and stir until almost all flour is incorporated. Allow to rest, covered, for 10-15 minutes. This give the water time to be absorbed and makes kneading easier.
- Knead for about 7-10 minutes until dough is smooth and elastic.
- Return to bowl and cover with plastic wrap. Allow to rise in the fridge for 8 hours or overnight.
- Remove from fridge and bring to room temperature on the counter. The dough should have grown at least 2 ½ x.
- Divide dough into thirds. This is the point at which you can freeze portions for later use*. Allow to rest for 15 minutes.
- Preheat oven to 450Add a pizza/bread stone to heat at the same time if you have one. This will yield crispier results and better expansion in the oven.
- Prepare your toppings: combine the diced tomatoes, basil, and minced garlic. Season with salt and pepper to taste.
- Roll or hand stretch one portion of the dough to a 13” circle on a floured piece of parchment (this makes transfer easier. Brush olive oil on dough. Place parchment and dough on a baking sheet if not using a pizza stone.
- Scatter tomato mix evenly over surface. Cover with shredded cheese. Evenly scatter zucchini and corn over cheese.
- Place pizza in oven for 12-15 minutes until cheese is bubbling and crust is golden brown.
- Allow to cool for 2 minutes before cutting.
Notes
Based on a suggestion by Austin Guzman


[…] is more elastic when refrigerated, so when the temperature drops below freezing, the gluten in pizza dough bonds and stretches out. The dough will be more flexible as a result of this step, and it will also be […]