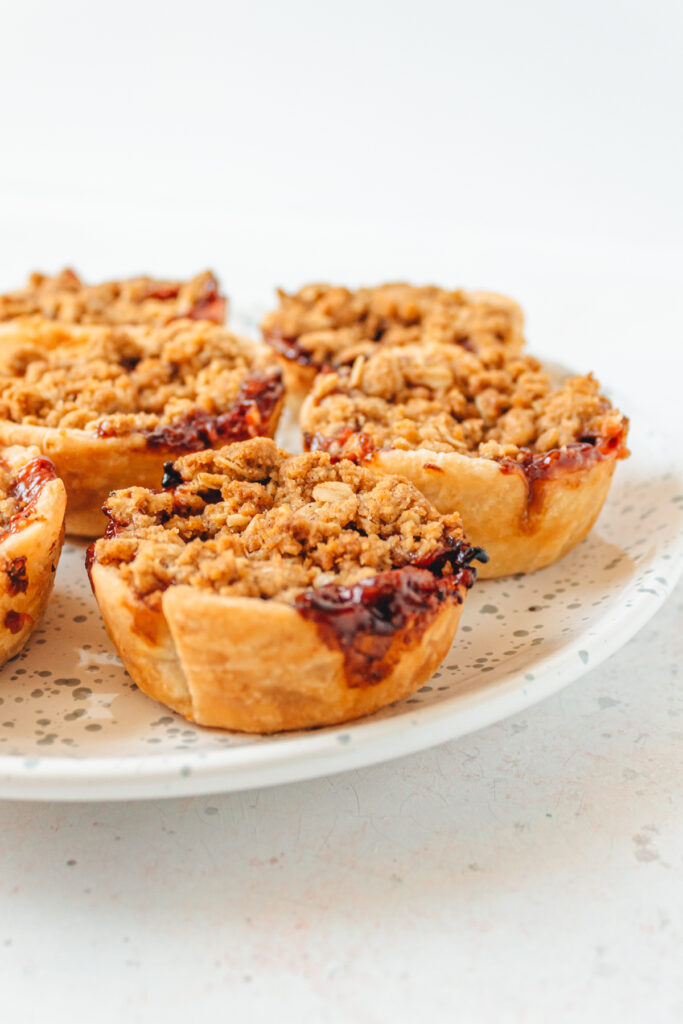
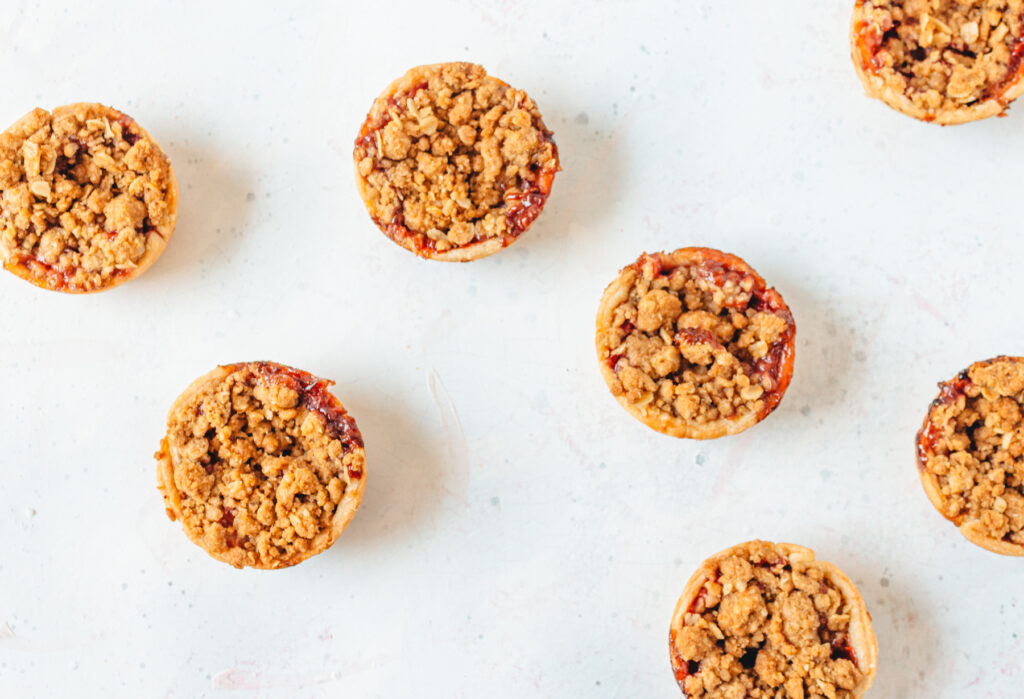
Handheld servings of strawberry rhubarb crisp are encased in a delicious pastry and topped with just enough crumble to cut the sweetness. Find out how to make the perfect flaky pastry and learn all about the science behind it.
I always enjoy crisps and cobblers, but they are so challenging to take to any event yet always make too much for me to justify making one at home. So, why not make them handheld? Much better – particularly for taking to share with friends at the wineries and breweries.
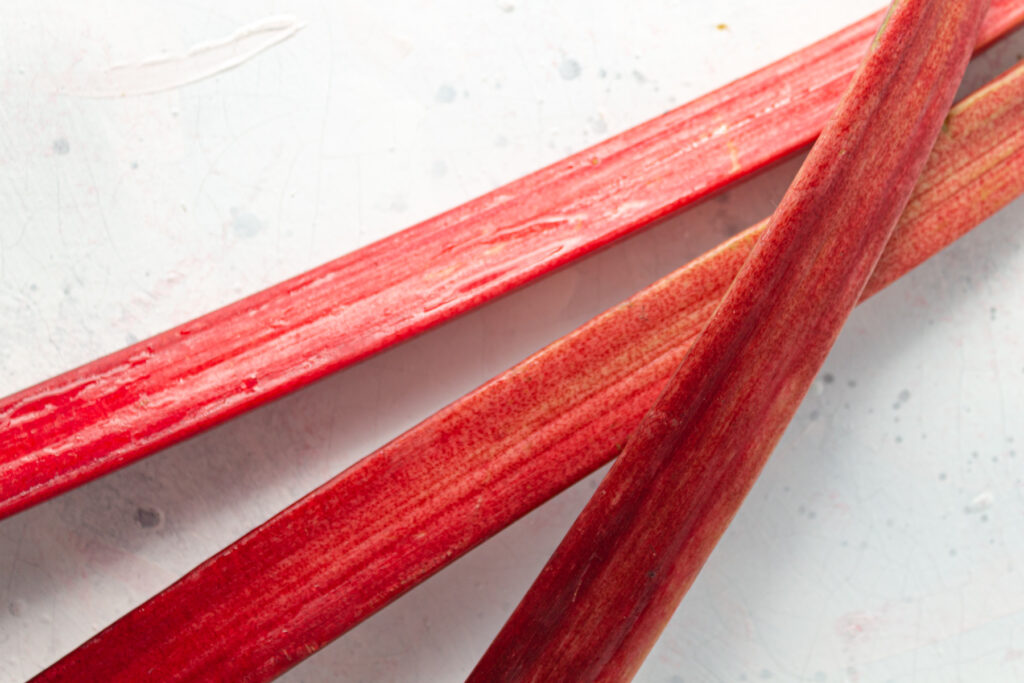
Rhubarb and strawberries make great combination. Some people describe the flavor as almost raspberry if they are not familiar with rhubarb. For this recipe, you need to cut your fruit into small pieces or it will cook down so much that you don’t have enough filling to offset the crisp. You could stew the strawberries and rhubarb ahead of time to avoid this, but I find you lose some off the brighter flavors that way.
My first iteration of these included oats in the crisp as well, but that was just too many competing flavors. Some toasted almonds give a nice nutty contrast to the fruit. Otherwise, this crisp/crumble is just sweet enough to provide a contrast to the slight tart of the fruit (I’m not overly fond of super sweet fruit desserts – caramels and candies are a different matter).
A Dash of Science
In pastries, the air bubbles that create that flakiness are the result of the water molecules from the oil becoming gaseous and expanding when heated. That water vapor becomes trapped in pockets which create the flaking. This is why more oil (i.e. butter) makes a flakier pastry. But to create that water vapor, the oil needs to be cold when it goes in the oven or the pockets are too disperse and don’t bubble properly. The tips to do this include; cold/ice water, cold butter, refrigerate the pastry before baking, don’t over work the dough with warm hands, etc.
Freezing and grating butter is an easy way to quickly process the butter into dough without it melting. Grating is also a lot faster than cutting your butter into small cubes and processing it from there.
This is what your pastry should look like when you are done rubbing/chopping the butter into the flour.
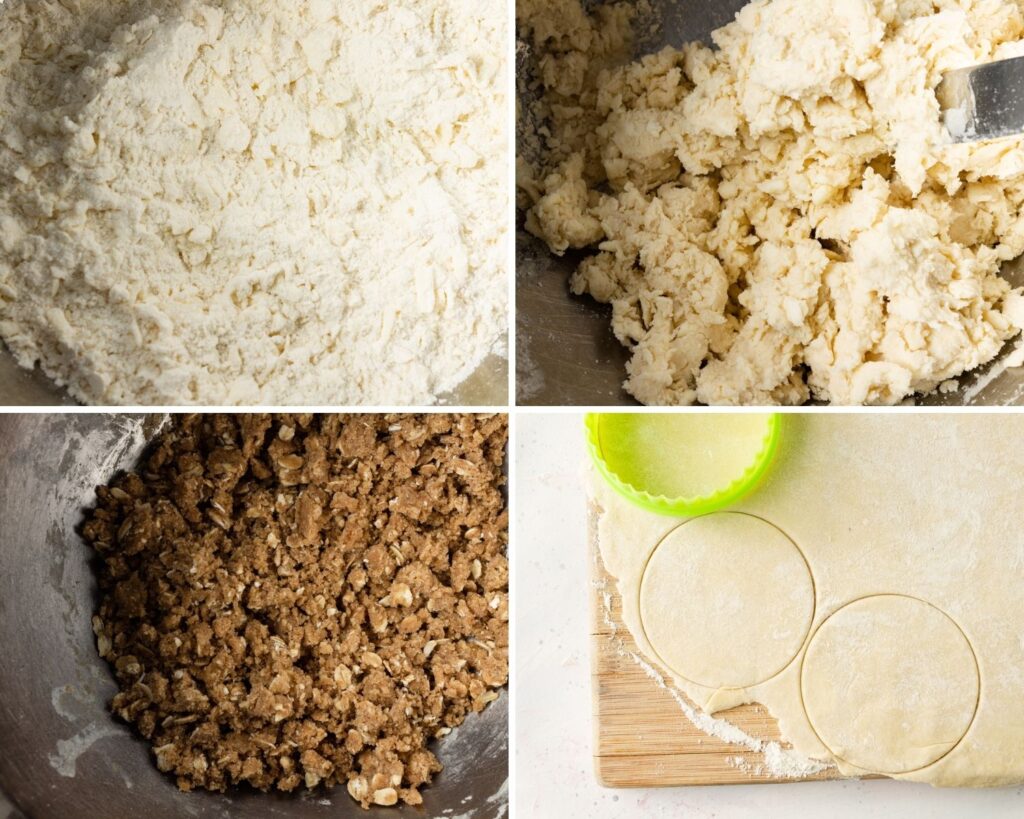
You also need to roll your pastry out nice and thin to get a good pastry/filling balance. If your work surface isn’t large enough, work half at a time.
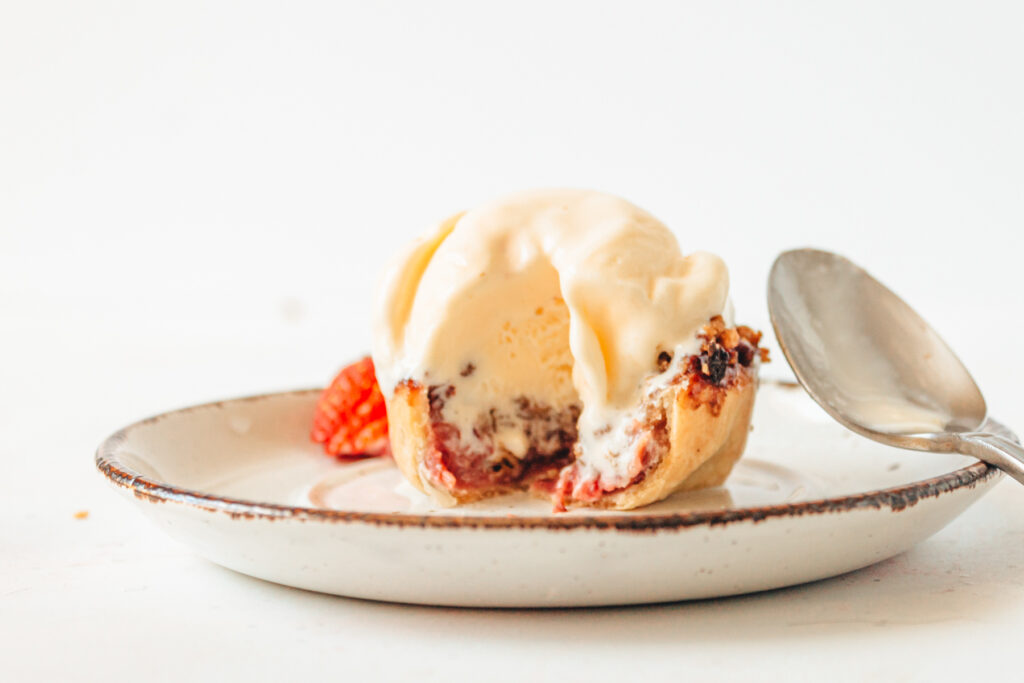
Try to be patient and allow the crisps to cool before eating. That way they don’t melt the slightly sweetened whipped cream or sweet cream ice cream you should definitely serve them with.
Snap a picture of what you cook and tag me @twistsandzests on Instagram and use the hashtag #twistsandzests so we can all see! You can also comment, email, or message me on any social media platform to find solutions to cooking problems.
Individual Strawberry Rhubarb Crisps
Ingredients
Pastry:
- 1 c/120g all-purpose flour
- 1 tbsp/8g powdered sugar
- 6 tbsp/90g unsalted butter frozen
- 1/8 tsp salt
- ¼ c/60ml cold water
Fruit Filling:
- 1 ½ c/200g rhubarb finely chopped*
- 2 c/350g chopped strawberries
- 1/3 c/70g granulated sugar
- ½ tsp/1g ground ginger
Crisp Topping:
- 4 tbs/55g unsalted butter softened
- 1/3 c/80g all-purpose flour
- ¼ c/30g slivered almonds toasted
- ½ c/105g packed brown sugar
- ¼ tsp cinnamon
Instructions
Pastry:
- Combine flour, sugar, and salt in a bowl. Grate the butter into the flour. Coat in flour and grate directly into bowl, trying to touch as little as possible so that it doesn’t melt from the heat of your fingers. Recoat butter with flour mixture as needed. Once grated, use the tips of your fingers to work the butter into the flour until it is a coarse crumble.
- Add water. Use a butter knife to “cut” the water into the pastry: cut through the forming clumps into still powder-y areas. Add more water a couple tsp at a time if not combining.
- Once most of the flour is moistened, use your hands to form the dough into a ball and pat in any extra flour.
- Cover with plastic wrap and chill in fridge for at least 2 hours.
- Alternative method: add flour, sugar, salt, and grated butter into the bowl of a food processor. Process until coarse crumbles. Add water and process until dough starts to adhere to itself. Personally I find this creates a lot more dishes to wash and you have a higher risk of over processing the dough (which forms gluten bonds and tough dough).
Fruit:
- Combine in a bowl and allow to sit and blend in the fridge for at least 1 hour.
Crisp Topping:
- Combine all ingredients in a bowl. Using two butter knives, chop across the bowl to combine. Once mostly blended, you can use your fingers to get it the rest of the way there. Set aside in the fridge until needed. Like the pastry, this can also be blended in a food processor (see above re: dishes).
Assembly:
- Have a clean, dry 1/2 c muffin tin ready.
- Roll out dough on a heavily floured surface to 1/8-1/4″ thick. Use a 5″ biscuit cutter to cut 12 rounds. This can be done in batches if your work surface isn’t large enough.
- Make sure one side of your dough is very floured. This will make it easier to extract the crisps after baking. Place floured side down over the center of each muffin well and gently press the dough into the well. Repeat with the rest of the dough.
- Chill for 10-15 minutes in the fridge. Just rolling out the dough starts warming it up and you want it to be nice and cold for the flaky texture. Use this time to start preheating the over to 350F. Once slightly chilled again, remove from fridge and puncture the bottom of the crisp shells 3-4 times with a fork. This prevents really big air pockets from forming in the shell and spilling the filling out.
- Add ~2 tbsp of fruit filling to each shell. Leave just enough space to put the crisp topping on without heaping too much over the top of the pan.
- Carefully sprinkle on 1 tbsp of topping to each crisp. Try not to go outside the edge of each shell so that it is easier to remove later.
- Back for about 40 minutes. Crisp will be golden brown and you can see the fruit filling bubbling underneath.
- Remove from oven and immediately run a small, sharp knife around the edge of each crisp to cut through any filling that has bubbled over. Allow to cool for at least 15 minutes before removing from pan.
Notes


Leave a Reply